整合 Swagger2 集成 knife4j
1 2 3 4 <dependency > <groupId > com.github.xiaoymin</groupId > <artifactId > knife4j-spring-boot-starter</artifactId > </dependency >
添加 knife4j 配置类
1
2
3
4
5
6
7
8
9
10
11
12
13
14
15
16
17
18
19
20
21
22
23
24
25
26
27
28
29
30
31
32
33
34
35
36
37
38
39
40
41
42
43
44
45
46
47
48
49
50
51
52
53
54
55
56
57
58
59
60
61
62
63
64
package com.atguigu.system.config;import org.springframework.context.annotation.Bean;import org.springframework.context.annotation.Configuration;import springfox.documentation.builders.ApiInfoBuilder;import springfox.documentation.builders.ParameterBuilder;import springfox.documentation.builders.PathSelectors;import springfox.documentation.builders.RequestHandlerSelectors;import springfox.documentation.schema.ModelRef;import springfox.documentation.service.ApiInfo;import springfox.documentation.service.Contact;import springfox.documentation.service.Parameter;import springfox.documentation.spi.DocumentationType;import springfox.documentation.spring.web.plugins.Docket;import springfox.documentation.swagger2.annotations.EnableSwagger2WebMvc;import java.util.ArrayList;import java.util.List;@Configuration @EnableSwagger2WebMvc public class Knife4jConfig {@Bean public Docket adminApiConfig () {new ArrayList <>();ParameterBuilder tokenPar = new ParameterBuilder ();"token" )"用户token" )"" )new ModelRef ("string" ))"header" )false )Docket adminApi = new Docket (DocumentationType.SWAGGER_2)"adminApi" )"com.atguigu" ))"/admin/.*" )) return adminApi;private ApiInfo adminApiInfo () {return new ApiInfoBuilder ()"后台管理系统-API文档" )"本文档描述了后台管理系统微服务接口定义" )"1.0" )new Contact ("atguigu" , "http://atguigu.com" , "atguigu@qq.com" ))
Controller 层添加注解
1
2
3
4
5
6
7
8
9
10
11
12
13
14
15
16
17
18
19
20
21
22
23
24
25
26
27
28
29
package com.atguigu.system.controller;import com.atguigu.system.service.SysRoleService;import com.atguigu.common.result.Result;import com.atguigu.model.system.SysRole;import io.swagger.annotations.Api;import io.swagger.annotations.ApiOperation;import org.springframework.beans.factory.annotation.Autowired;import org.springframework.web.bind.annotation.GetMapping;import org.springframework.web.bind.annotation.RequestMapping;import org.springframework.web.bind.annotation.RestController;import java.util.List;@Api(tags = "角色管理") @RestController @RequestMapping("/admin/system/sysRole") public class SysRoleController {@Autowired private SysRoleService sysRoleService;@ApiOperation(value = "获取全部角色列表") @GetMapping("findAll") public Result<List<SysRole>> findAll () {return Result.ok(roleList);
测试http://localhost:8800/doc.html
定义统一返回结果对象 定义接口, 通过封装 Result, 统一将接口的返回值都转换为 json 格式
Result 类:
1
2
3
4
5
6
7
8
9
10
11
12
13
14
15
16
17
18
19
20
21
22
23
24
25
26
27
28
29
30
31
32
33
34
35
36
37
38
39
40
41
42
43
44
45
46
47
48
49
50
51
52
53
54
55
56
57
58
59
60
61
62
63
64
65
66
67
68
69
70
71
72
73
74
75
76
77
78
79
80
81
82
83
84
85
package com.atguigu.common.result;import lombok.Data;@Data public class Result <T> {private Integer code;private String message;private T data;public Result () {}protected static <T> Result<T> build (T data) {new Result <T>();if (data != null )return result;public static <T> Result<T> build (T body, Integer code, String message) {return result;public static <T> Result<T> build (T body, ResultCodeEnum resultCodeEnum) {return result;public static <T> Result<T> ok () {return Result.ok(null );public static <T> Result<T> ok (T data) {return build(data, ResultCodeEnum.SUCCESS);public static <T> Result<T> fail () {return Result.fail(null );public static <T> Result<T> fail (T data) {return build(data, ResultCodeEnum.FAIL);public Result<T> message (String msg) {this .setMessage(msg);return this ;public Result<T> code (Integer code) {this .setCode(code);return this ;
ResultCodeEnum 状态码枚举类
1 2 3 4 5 6 7 8 9 10 11 12 13 14 15 16 17 18 19 20 21 22 23 24 25 26 27 28 29 30 31 32 33 @Getter public enum ResultCodeEnum {200 ,"成功" ),201 , "失败" ),2012 , "服务异常" ),204 , "数据异常" ),205 , "非法请求" ),206 , "重复提交" ),210 , "参数校验异常" ),208 , "未登陆" ),209 , "没有权限" ),214 , "账号不正确" ),215 , "密码不正确" ),216 , "账号不正确" ),217 , "账号已停用" ),218 , "该节点下有子节点,不可以删除" )private Integer code;private String message;private ResultCodeEnum (Integer code, String message) {this .code = code;this .message = message;
修改 Controller, 让所有的接口返回的类型都是 json 格式
1
2
3
4
5
6
7
8
9
10
11
12
13
14
15
16
17
18
19
20
21
22
23
24
25
26
27
28
29
30
@Slf4j @Api("角色管理") @RestController @RequestMapping("/admin/system/sysRole") public class SysRoleController {@Autowired private SysRoleService sysRoleService;@ApiOperation("查询所有角色列表") @GetMapping("/findAll") public Result<List<SysRole>> findAll () {null );return Result.ok(list);@ApiOperation("通过id删除角色") @DeleteMapping("/remove/{id}") public Result deleteById (@PathVariable("id") String id) {boolean result = sysRoleService.removeById(id);return Result.ok(result);
测试地址:http://localhost:8800/doc.html
1
2
3
4
5
6
7
8
9
10
11
12
13
14
15
16
17
18
19
20
21
22
23
24
25
26
27
28
29
30
31
32
33
34
35
36
37
38
39
40
41
42
43
44
45
46
47
48
49
50
51
52
53
54
55
56
57
58
{ "code" : 200 , "message" : "成功" , "data" : false } { "code" : 200 , "message" : "成功" , "data" : true } { "code" : 200 , "message" : "成功" , "data" : [ { "id" : "1586337616301735937" , "createTime" : "2022-10-29T12:42:15.000+00:00" , "updateTime" : "2022-10-30T03:13:38.000+00:00" , "isDeleted" : 0 , "param" : { } , "roleName" : "角色管理员" , "roleCode" : "role" , "description" : "角色管理员" } , { "id" : "1586341642619711490" , "createTime" : "2022-10-29T12:58:15.000+00:00" , "updateTime" : "2022-10-30T03:13:38.000+00:00" , "isDeleted" : 0 , "param" : { } , "roleName" : "角色管理员" , "roleCode" : "role" , "description" : "角色管理员" } , { "id" : "1586341642619711491" , "createTime" : "2022-10-29T13:08:04.000+00:00" , "updateTime" : "2022-10-30T03:13:42.000+00:00" , "isDeleted" : 0 , "param" : { } , "roleName" : "角色管理员" , "roleCode" : "role" , "description" : "角色管理员" } , { "id" : "1586341642619711492" , "createTime" : "2022-10-30T02:56:41.000+00:00" , "updateTime" : "2022-10-30T02:56:41.000+00:00" , "isDeleted" : 0 , "param" : { } , "roleName" : "角色测试员" , "roleCode" : "test" , "description" : "闲着吃干饭的" } ] }
编写 CRUD
1
2
3
4
5
6
7
8
9
10
11
12
13
14
15
16
17
18
19
20
21
22
23
24
25
26
27
28
29
30
31
32
33
34
35
36
37
38
39
40
41
42
43
44
45
46
47
48
49
50
51
52
53
54
55
56
57
58
59
60
61
62
63
64
65
66
67
68
69
70
71
72
73
74
75
76
77
78
79
80
81
82
83
84
85
86
87
88
89
90
91
92
93
94
95
96
97
98
99
100
101
102
103
104
105
106
107
108
109
110
111
112
113
114
115
116
117
118
119
120
121
122
123
124
125
126
127
128
129
130
131
132
package com.atguigu.system.controller;import com.atguigu.common.result.Result;import com.atguigu.model.system.SysRole;import com.atguigu.model.vo.SysRoleQueryVo;import com.atguigu.system.service.SysRoleService;import com.baomidou.mybatisplus.core.metadata.IPage;import com.baomidou.mybatisplus.extension.plugins.pagination.Page;import io.swagger.annotations.Api;import io.swagger.annotations.ApiOperation;import lombok.extern.slf4j.Slf4j;import org.springframework.beans.factory.annotation.Autowired;import org.springframework.web.bind.annotation.*;import java.util.List;@Slf4j @Api("角色管理") @RestController @RequestMapping("/admin/system/sysRole") public class SysRoleController {@Autowired private SysRoleService sysRoleService;@ApiOperation("查询所有角色列表") @GetMapping("/findAll") public Result<List<SysRole>> findAll () {null );return Result.ok(list);@ApiOperation("通过id删除角色") @DeleteMapping("/remove/{id}") public Result deleteById (@PathVariable("id") String id) {boolean result = sysRoleService.removeById(id);return Result.ok(result);@ApiOperation("条件分页查询") @GetMapping("/{page}/{limit}") public Result findPageQueryRole (@PathVariable Integer page, @PathVariable Integer limit, SysRoleQueryVo sysRoleQueryVo) {new Page <>(page, limit);return Result.ok(pageModel);@ApiOperation("获取角色") @GetMapping("/get/{id}") public Result get (@PathVariable Integer id) {SysRole byId = sysRoleService.getById(id);return Result.ok(byId);@ApiOperation("新增角色") @PostMapping("/save") public Result save (@RequestBody SysRole sysRole) {boolean save = sysRoleService.save(sysRole);if (save) {return Result.ok();else {return Result.fail();@ApiOperation("根据id查询") @PostMapping("/findRoleById/{id}") public Result findRoleById (@PathVariable Long id) {SysRole sysRole = sysRoleService.getById(id);return Result.ok(sysRole);@ApiOperation("修改角色") @PostMapping("/update") public Result update (@RequestBody SysRole sysRole) {boolean flag = sysRoleService.updateById(sysRole);if (flag) {return Result.ok();else {return Result.fail();@ApiOperation("根据id列表删除") @DeleteMapping("/batchRemove") public Result batchRemove (@RequestBody List<Long> list) {boolean flag = sysRoleService.removeByIds(list);if (flag) {return Result.ok();else {return Result.fail();
全局异常 1 2 3 4 5 6 7 8 9 10 11 12 13 14 15 16 17 18 19 20 21 22 23 24 25 26 27 28 29 30 31 32 33 34 35 36 37 package com.atguigu.system.handler;import com.atguigu.common.result.Result;import com.atguigu.system.execption.GuiguException;import org.springframework.web.bind.annotation.ControllerAdvice;import org.springframework.web.bind.annotation.ExceptionHandler;import org.springframework.web.bind.annotation.ResponseBody;@ControllerAdvice public class GlobalExceptionHandler {@ExceptionHandler(Exception.class) @ResponseBody public Result error (Exception e) {return Result.fail().message("执行了全局异常" );@ExceptionHandler(ArithmeticException.class) @ResponseBody public Result error (ArithmeticException e) {return Result.fail().message("执行了特定异常处理" );@ExceptionHandler(GuiguException.class) @ResponseBody public Result error (GuiguException e) {return Result.fail().message(e.getMessage()).code(e.getCode());
自定义异常
1 2 3 4 5 6 7 8 9 10 11 12 13 14 15 16 17 18 19 20 21 22 23 24 25 26 27 28 29 30 31 32 33 34 35 36 37 38 39 40 41 42 43 44 45 package com.atguigu.system.execption;import com.atguigu.common.result.ResultCodeEnum;import lombok.Data;@Data public class GuiguException extends RuntimeException {private Integer code;private String message;public GuiguException (Integer code, String message) {super (message);this .code = code;this .message = message;public GuiguException (ResultCodeEnum resultCodeEnum) {super (resultCodeEnum.getMessage());this .code = resultCodeEnum.getCode();this .message = resultCodeEnum.getMessage();@Override public String toString () {return "GuliException{" +"code=" + code +", message=" + this .getMessage() +'}' ;
测试异常
1 2 3 4 5 6 7 8 9 10 11 12 13 14 15 @Autowired private SysRoleService sysRoleService;@ApiOperation("查询所有角色列表") @GetMapping("/findAll") public Result<List<SysRole>> findAll () {try {int a = 1 /0 ;catch (Exception e) {throw new GuiguException (20001 ,"出现自定义异常" );null );return Result.ok(list);
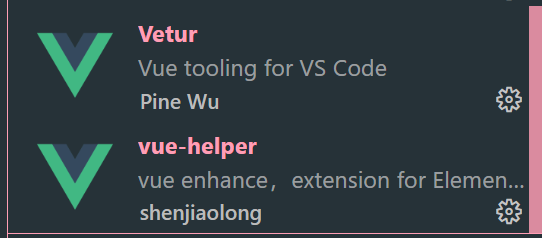
安装 vscode 下载四个插件
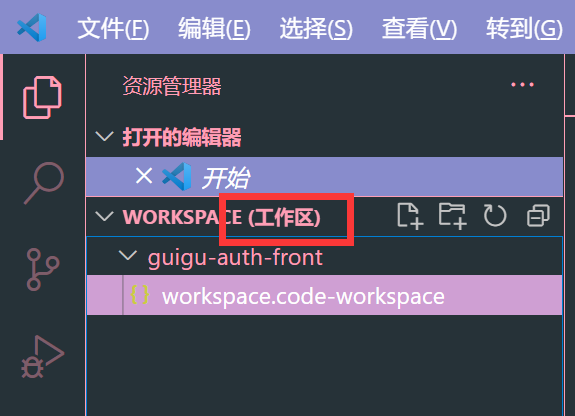
创建工作区
先创建一个空的文件夹
然后在 vscode 中打开这个空文件夹
在空文件夹中另存为工作区 (workspace.code-workspace)
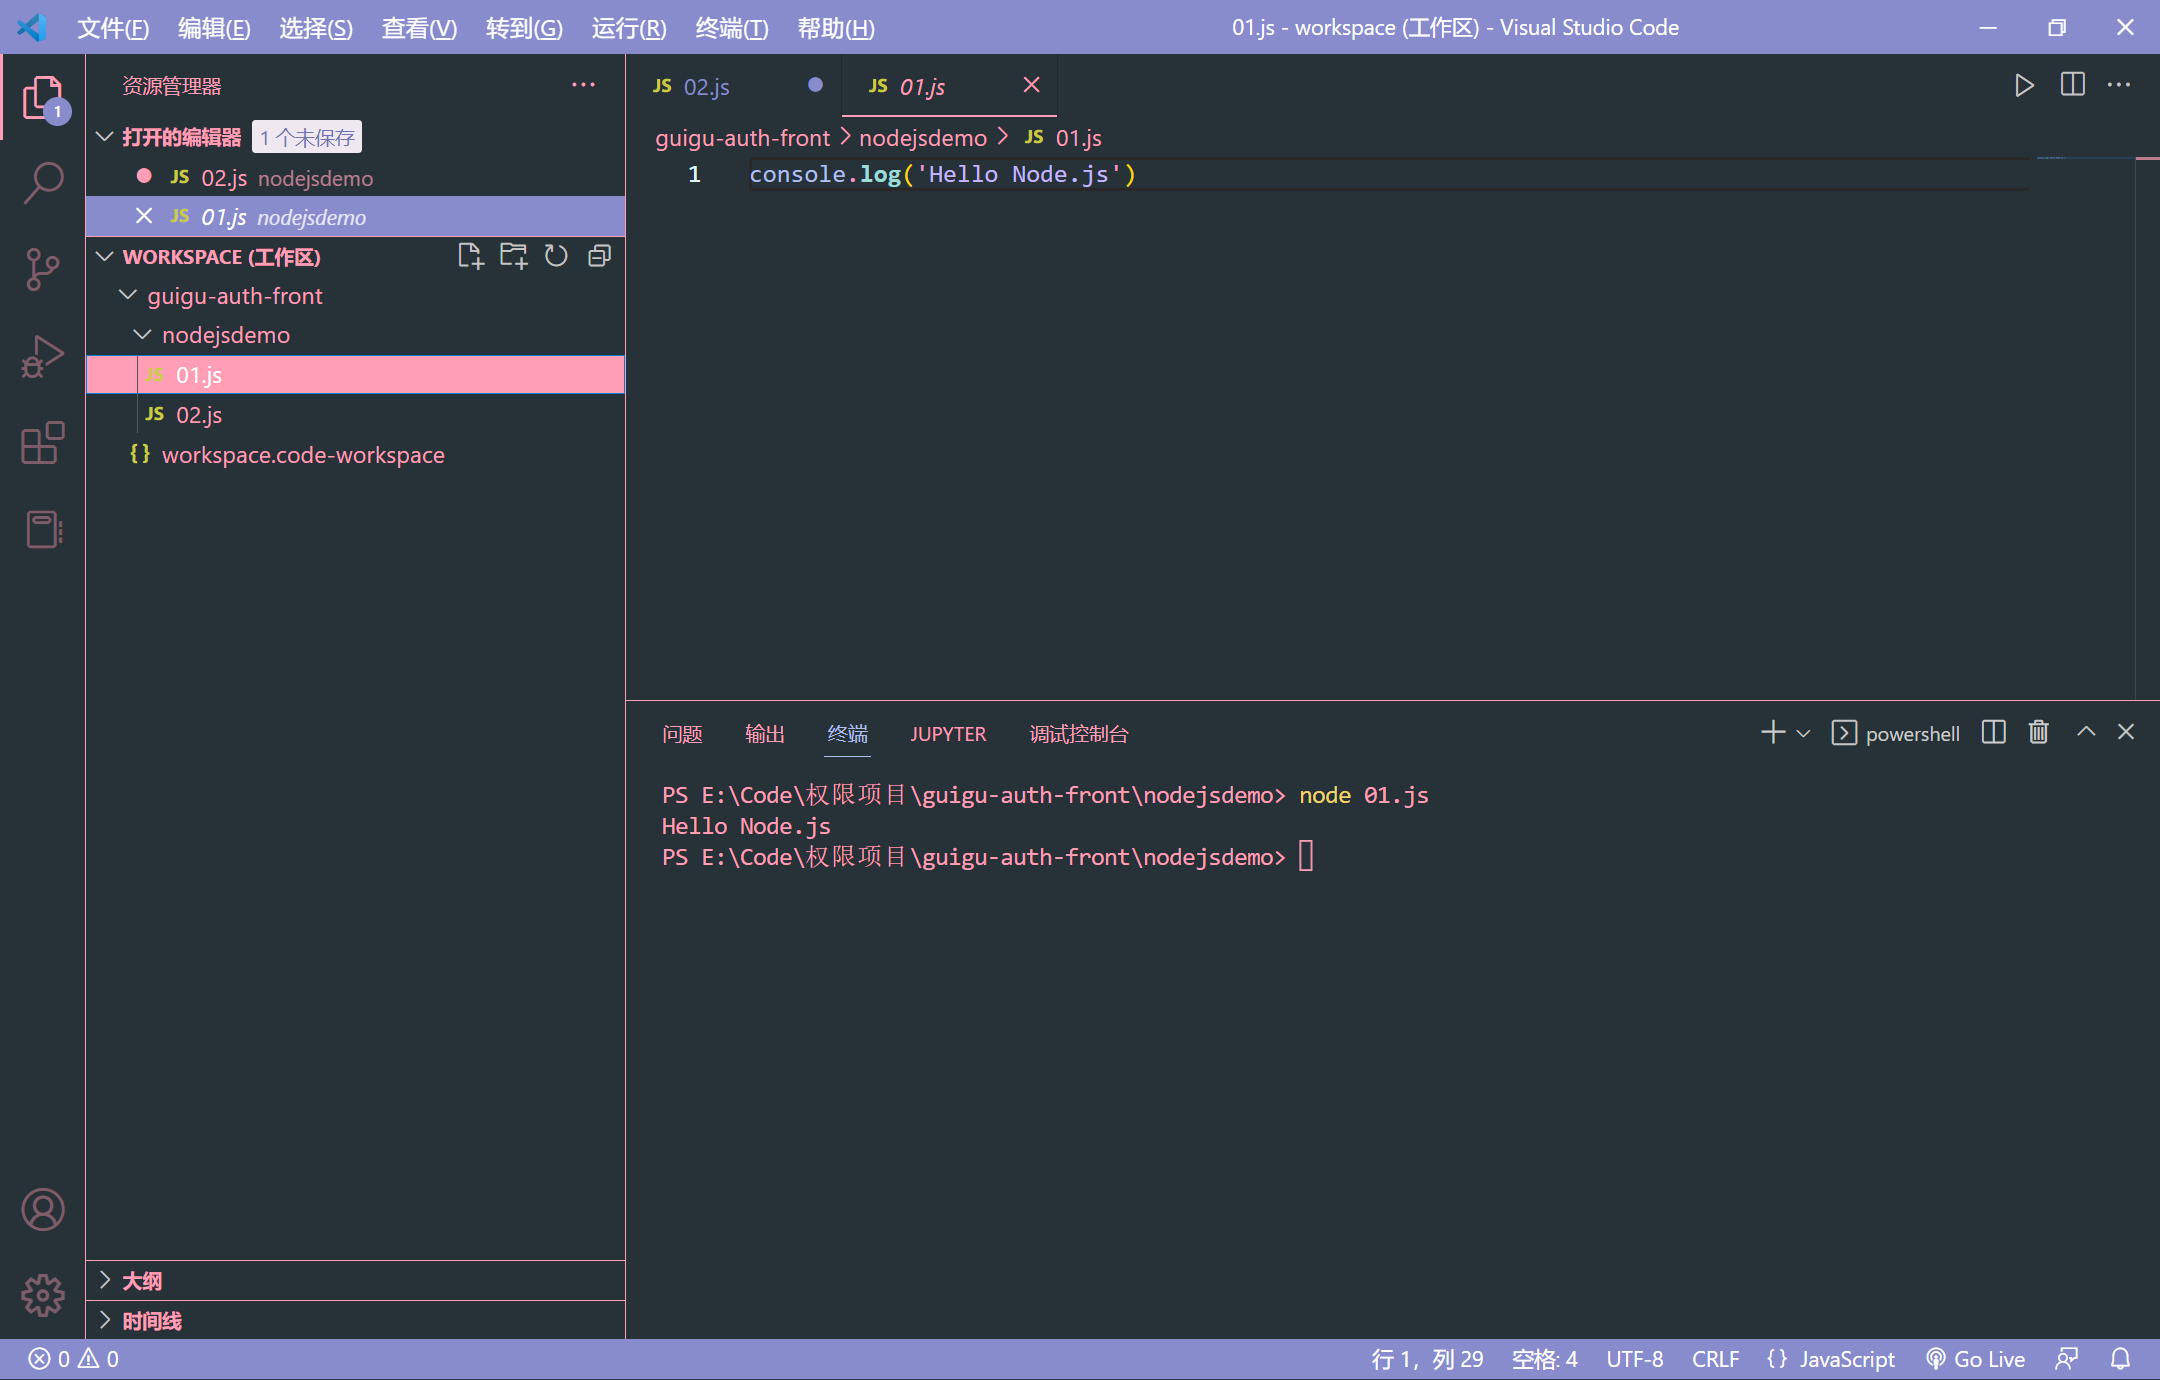
Nodejs 简单入门 官网:https://nodejs.org/en/ http://nodejs.cn/
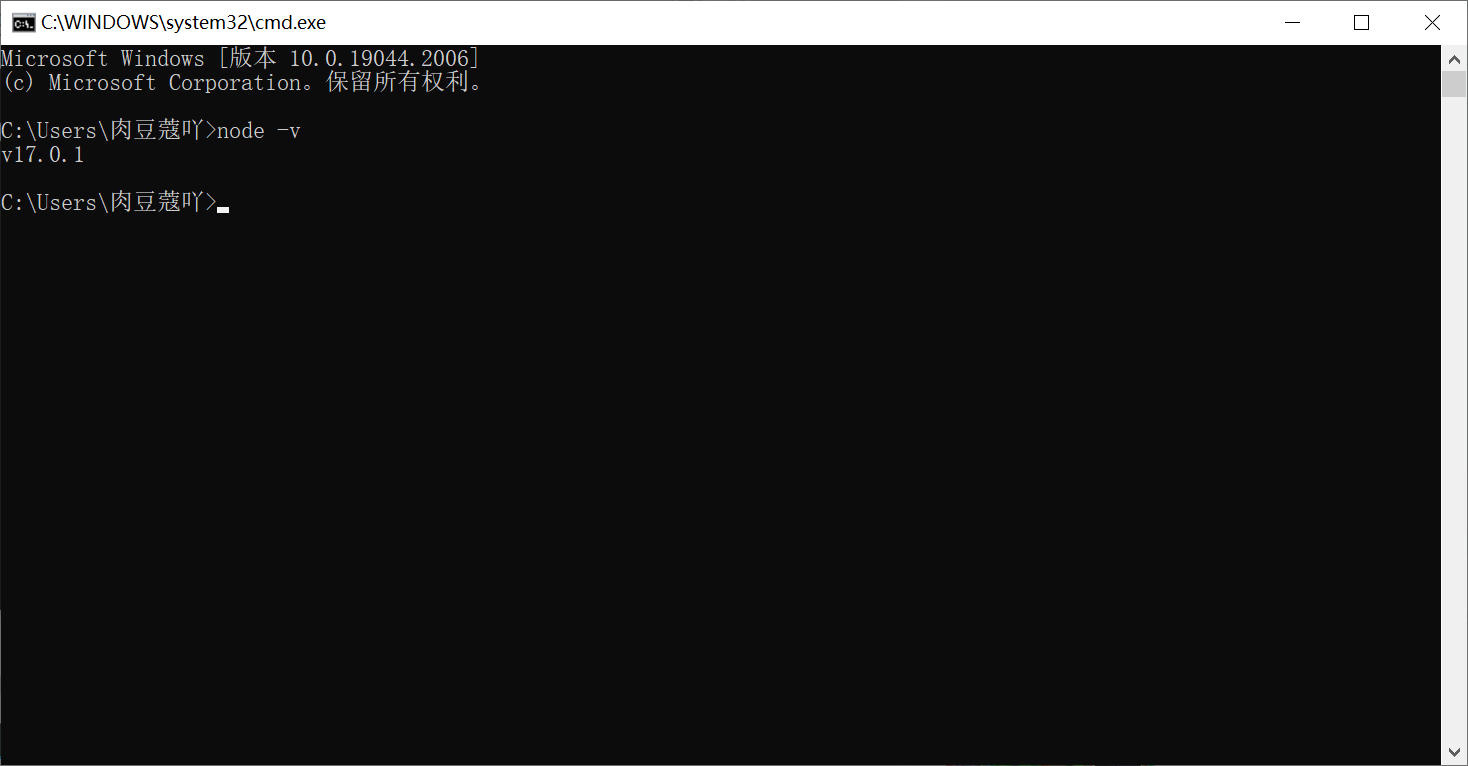
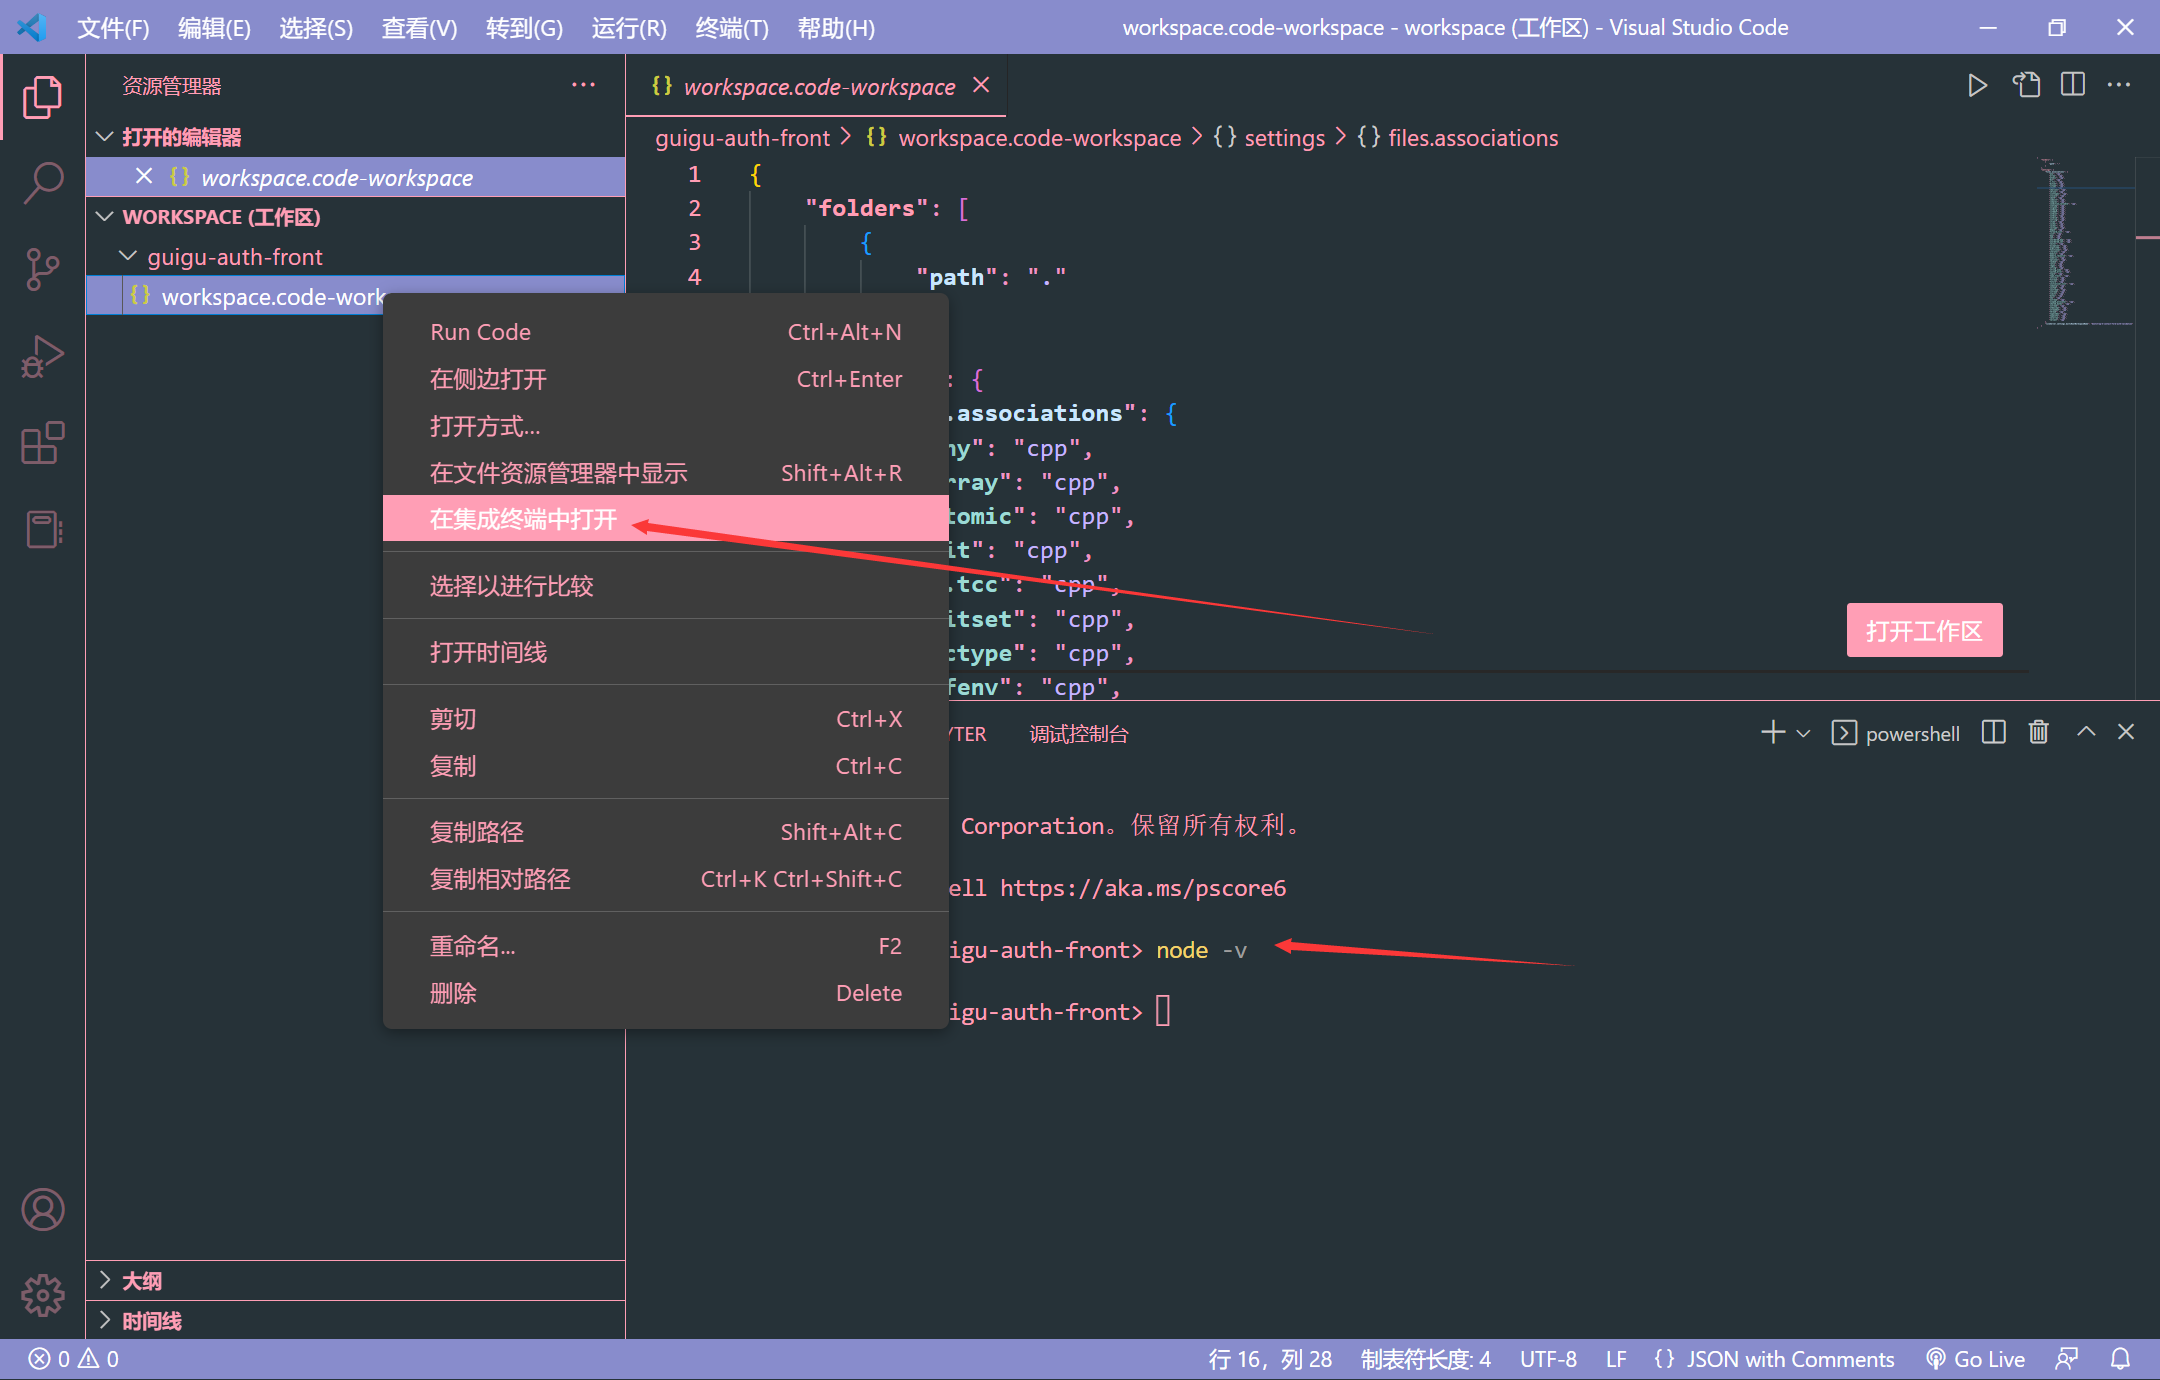
查看 node 版本
编写第一个 nodejs 服务器
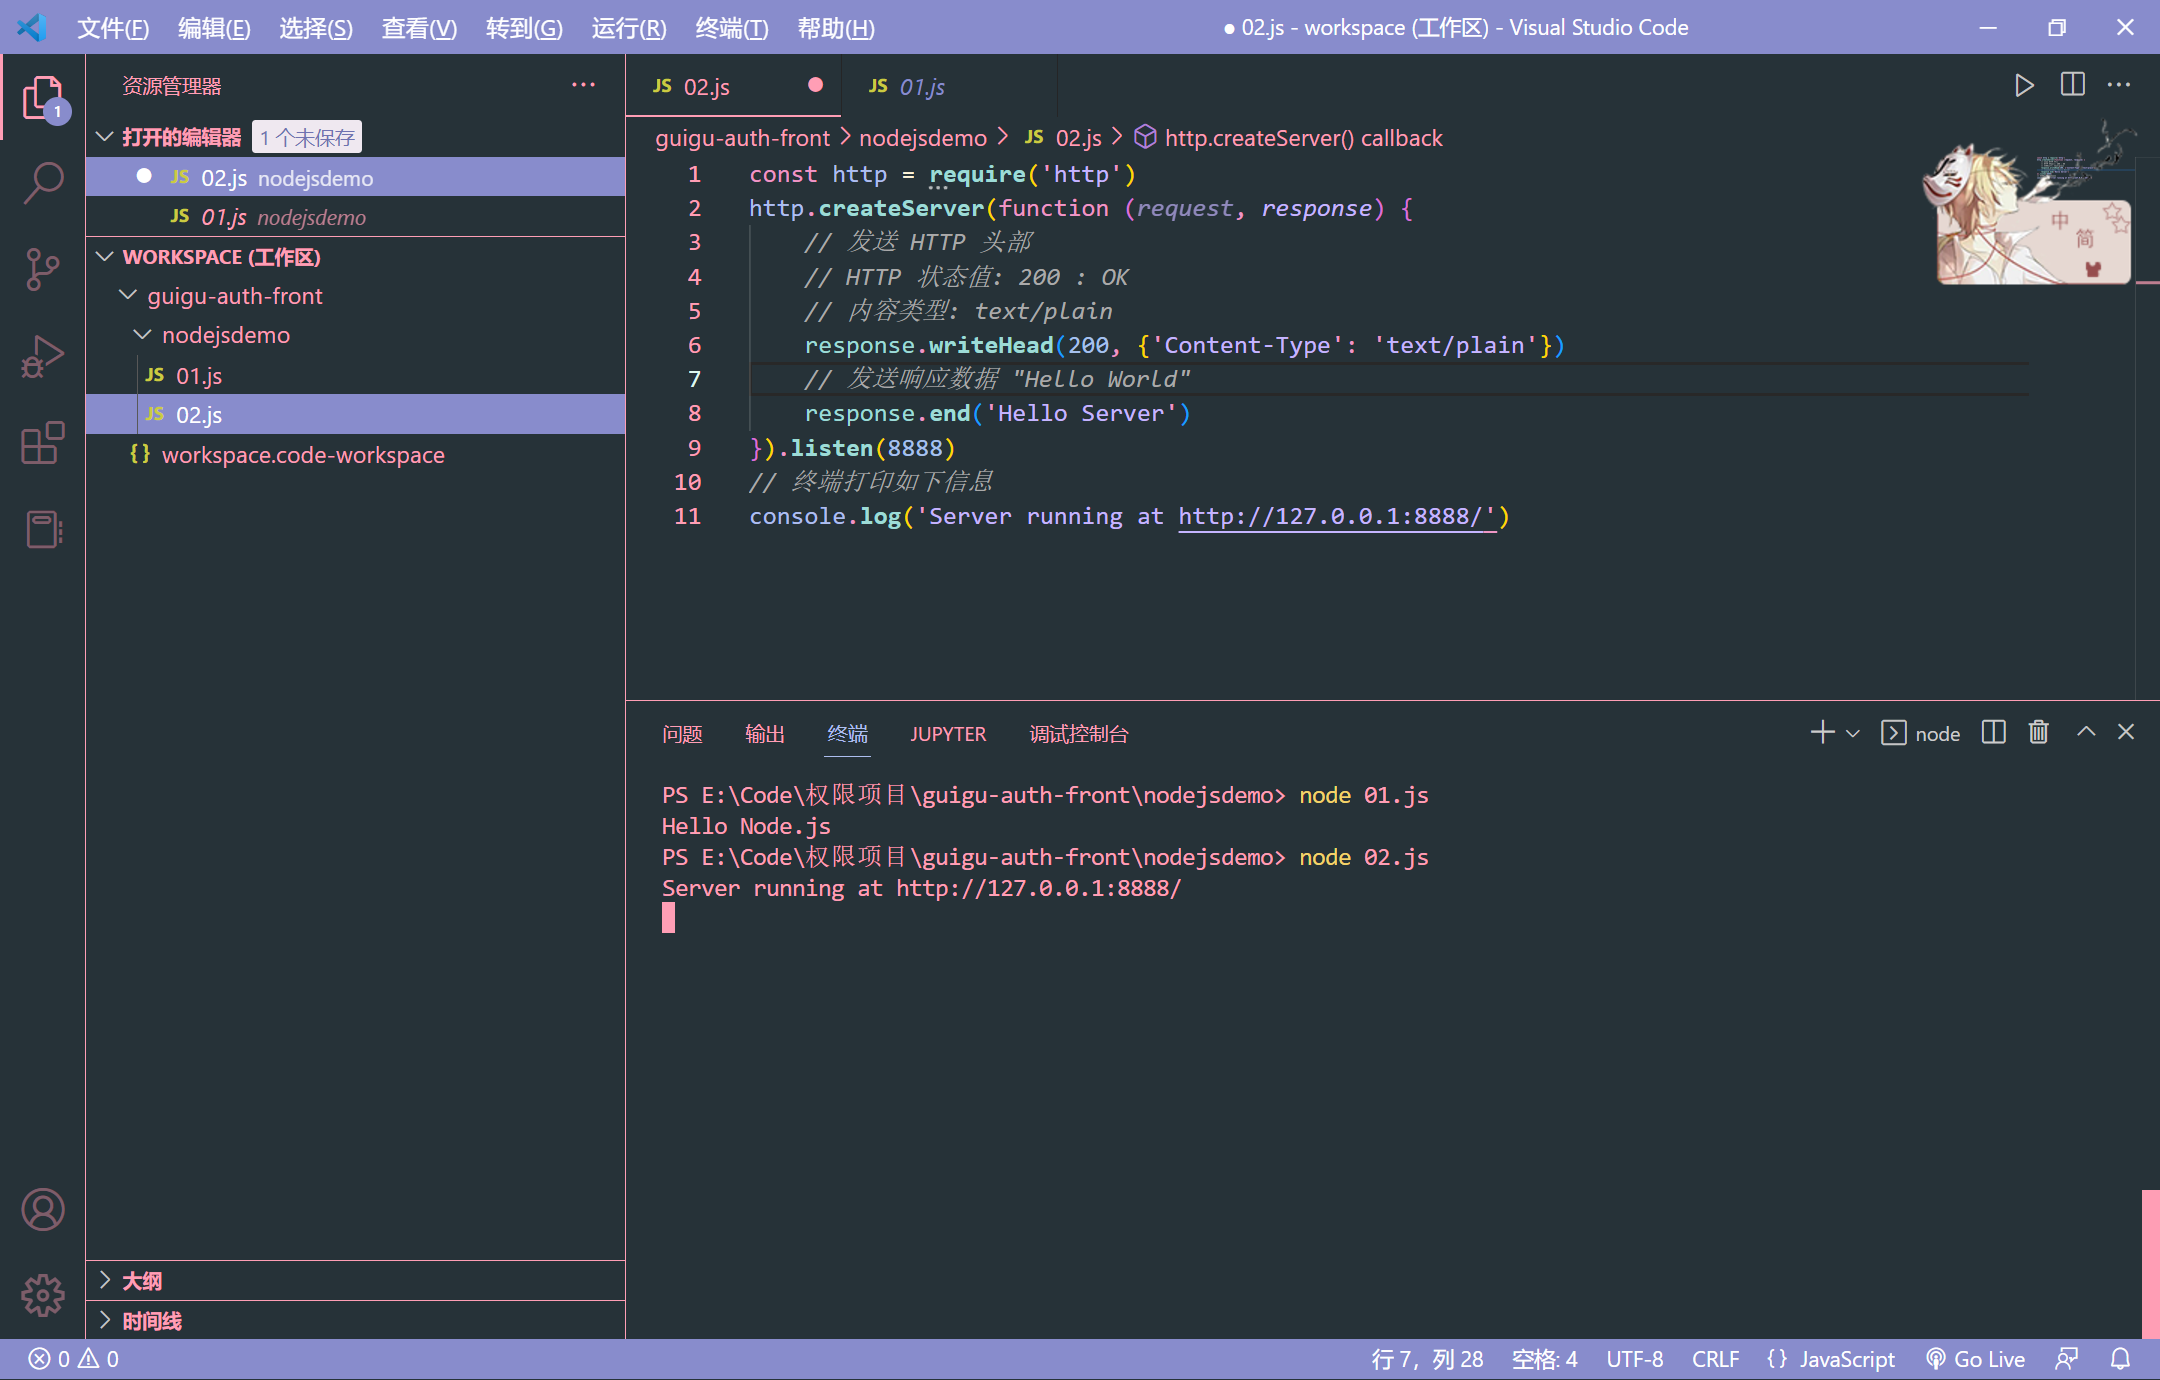
02.js
1 2 3 4 5 6 7 8 9 10 11 12 13 const http = require ("http" );createServer (function (request, response ) {writeHead (200 , { "Content-Type" : "text/plain" });end ("Hello Server" );listen (8888 );console .log ("Server running at http://127.0.0.1:8888/" );
node 02.jshttp://127.0.0.1:8888/ 说明服务器已经运行起来了
NPM 构建前端项目
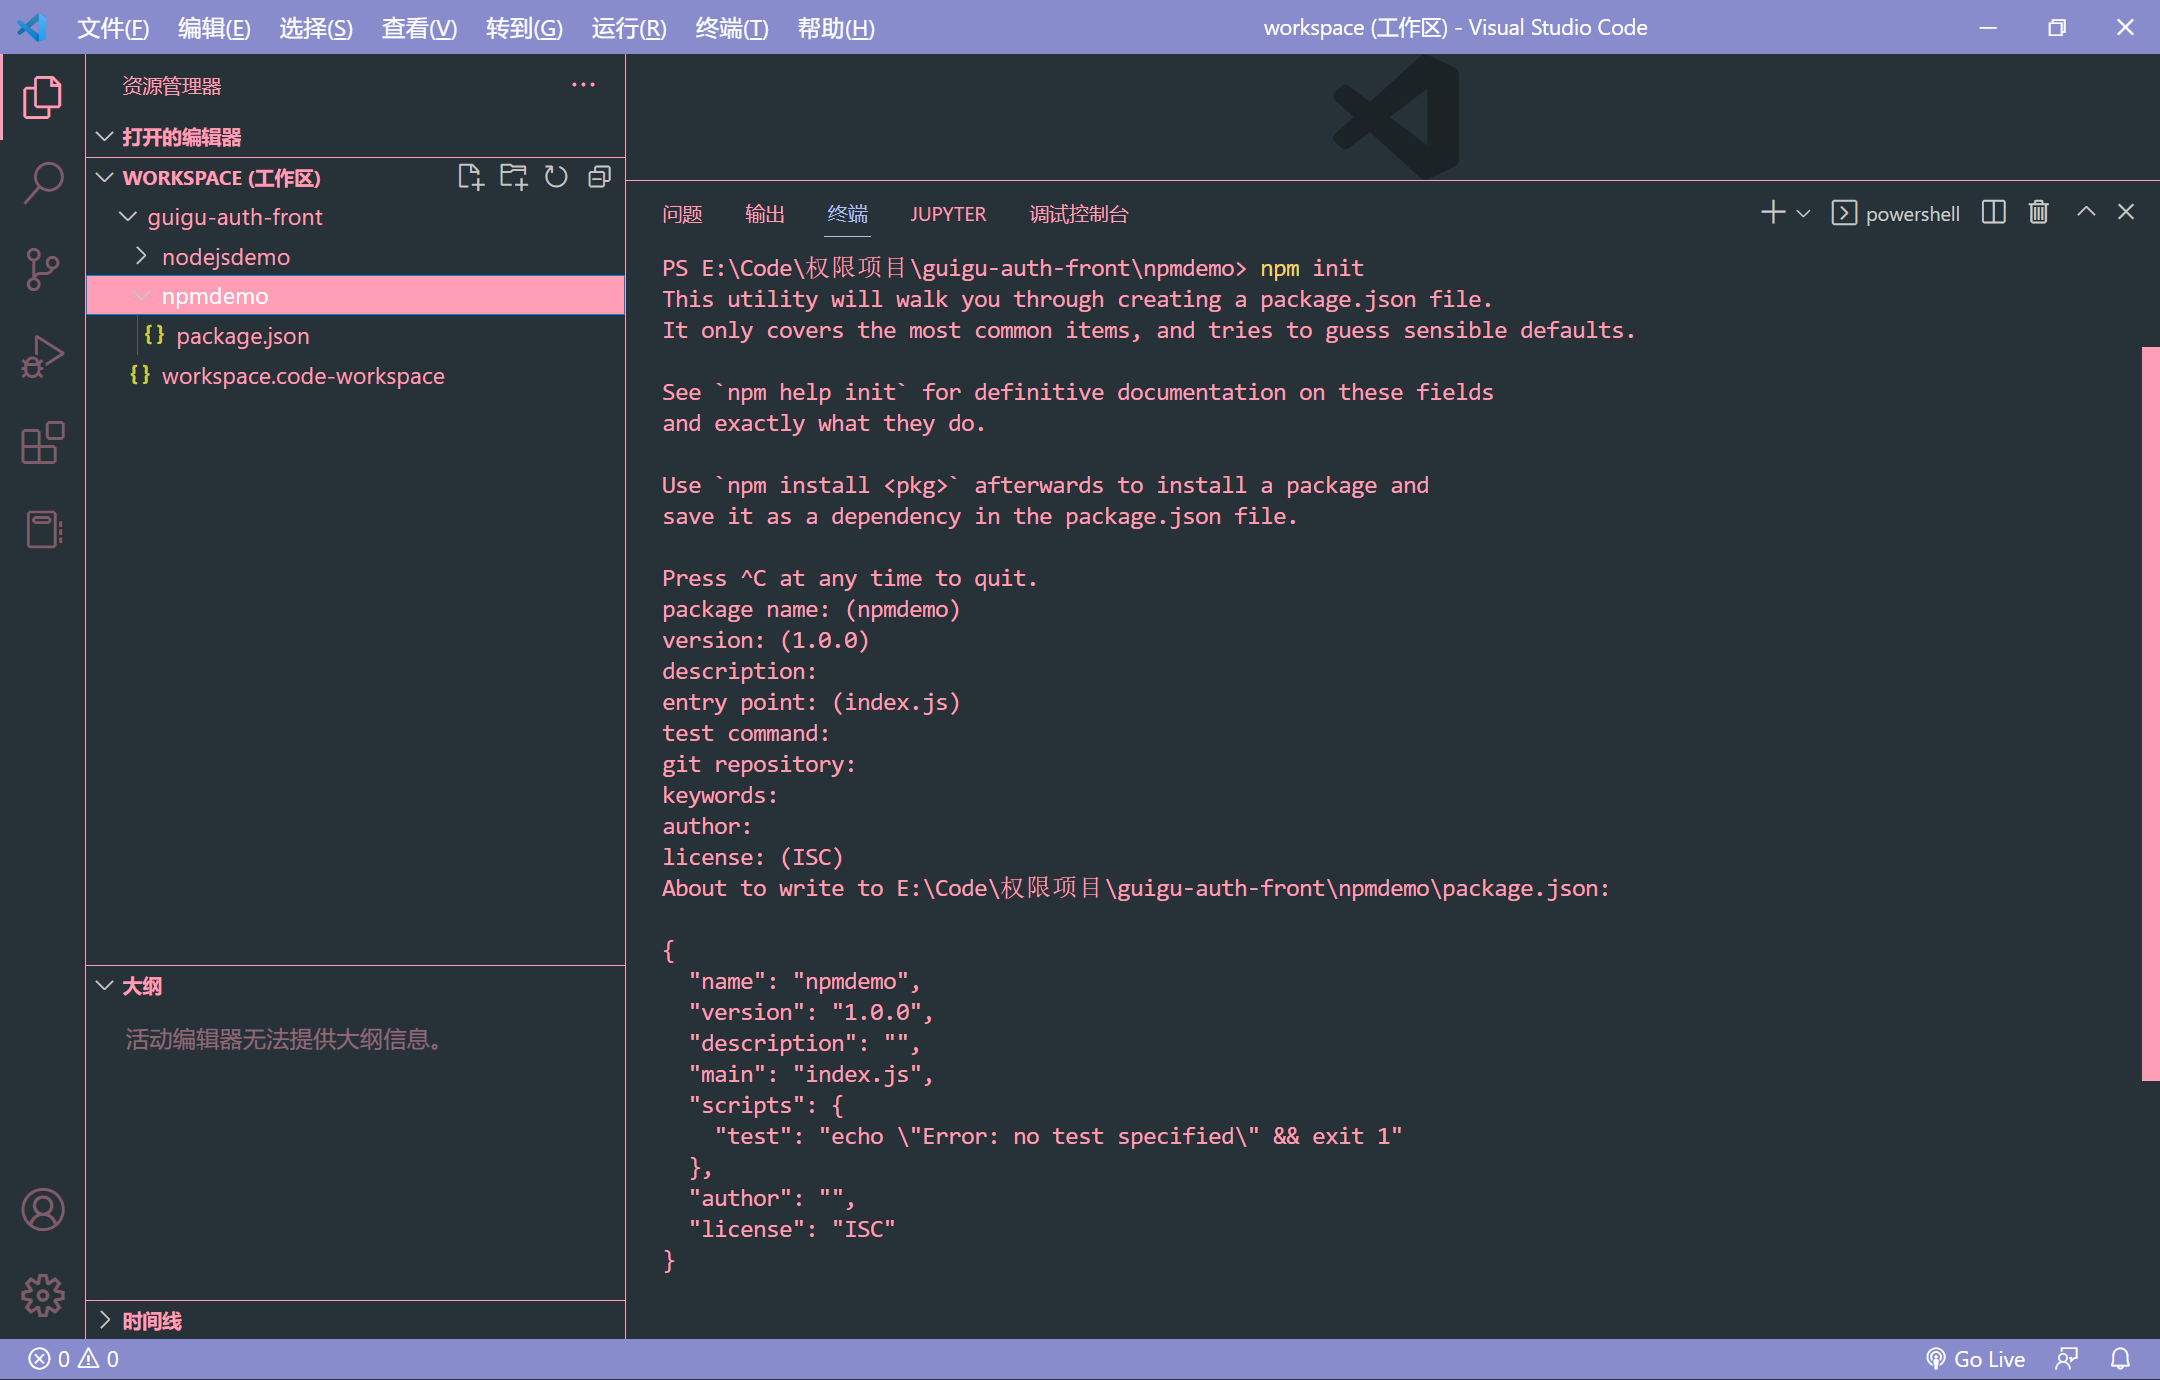
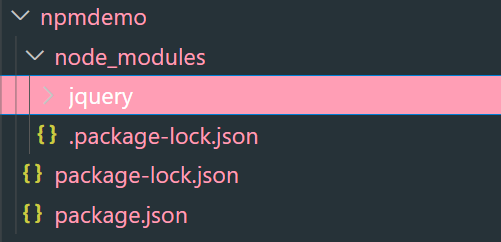
npm 初始化项目 1 2 3 PS E:\Code\权限项目\guigu-auth-front\npmdemo> npm init
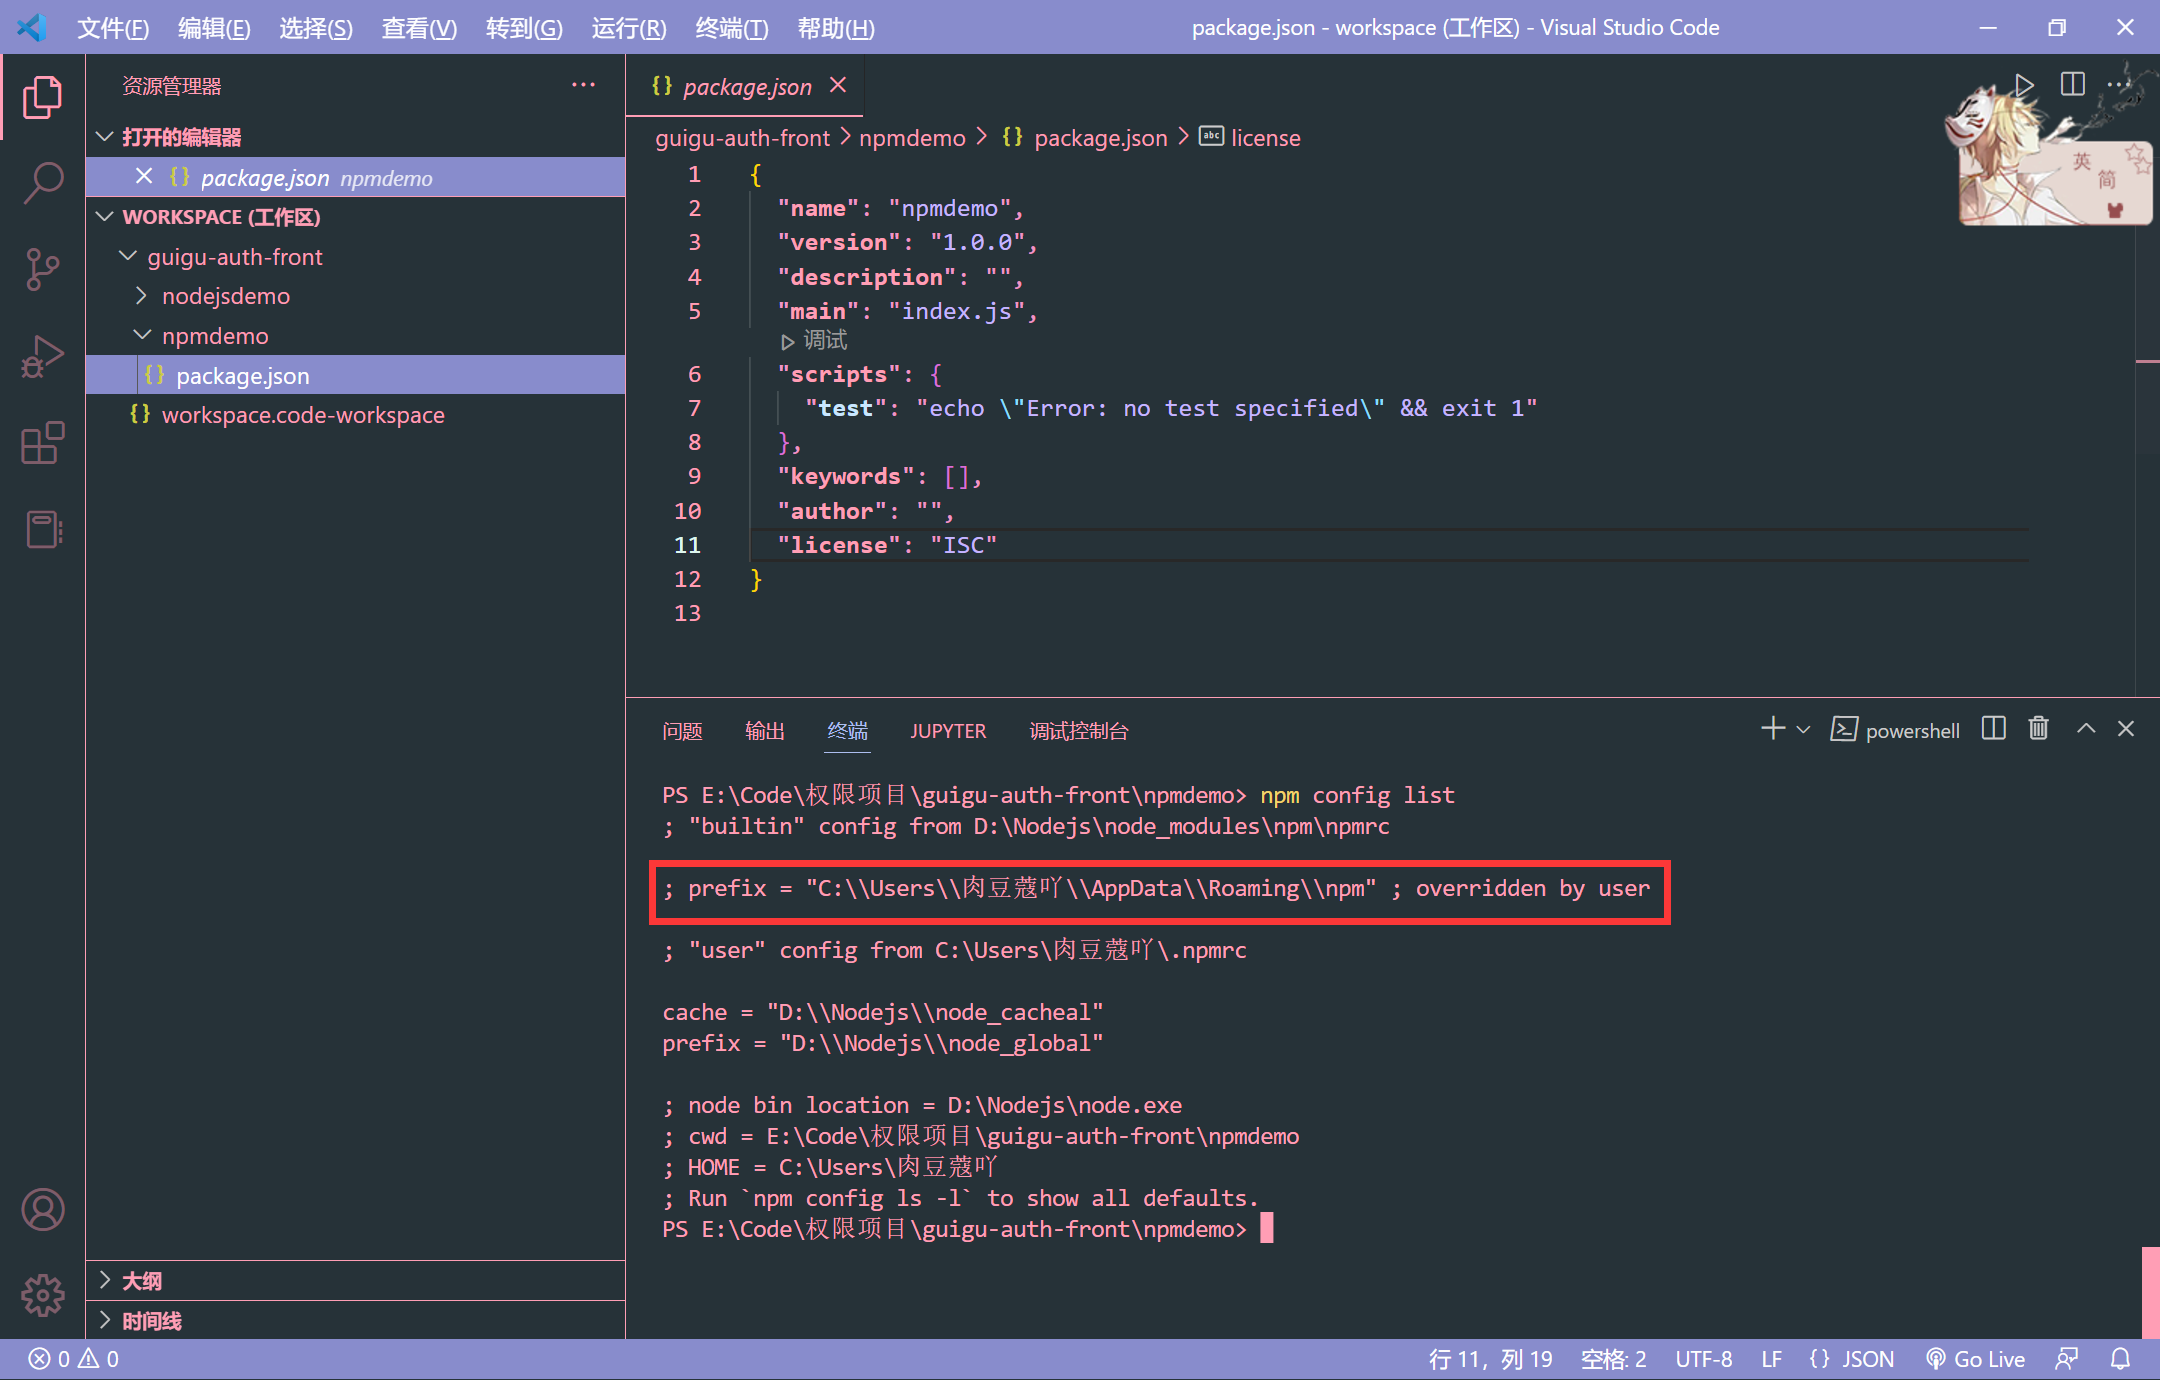
修改 npm 镜像源 1 2 3 4 5 6 7 8 9 10 11 12 13 14 15 16 17 set registry https://registry.npm.taobao.orgset registry https://registry.npm.taobao.org/ // 设置npm镜像源为淘宝镜像
配置仓库地址 1 2 3 4 5 6 7 8 set prefix D:\atguigu\node-globalset cache D:\atguigu\node-cache
npm install 命令的使用 1 2 3 4 5 6 7 8 9 10 11 12 13 14 15 16 17 18 19 20 21 22 23 # 使用 npm install 安装依赖包的最新版, # 模块安装的位置:项目目录\node_modules # 安装会自动在项目目录下添加 package-lock.json文件,这个文件帮助锁定安装包的版本 # 同时package.json 文件中,依赖包会被添加到dependencies节点下,类似maven中的 <dependencies> # npm管理的项目在备份和传输的时候一般不携带node_modules文件夹 # 根据配置文件直接下载依赖 # 如果安装时想指定特定的版本 # 局部安装 # devDependencies节点:开发时的依赖包,项目打包到生产环境的时候不包含的依赖 # 使用 -D参数将依赖添加到devDependencies节点 # 或 # 全局安装 # Node.js全局安装的npm包和工具的位置:用户目录\AppData\Roaming\npm\node_modules # 一些命令行工具常使用全局安装的方式
其他命令 1 2 3 4 5 6 7 8 # 更新包(更新到最新版本) # 全局更新 # 卸载包 # 全局卸载
前端模块化开发(ES5) 创建两个 js 文件
1 2 3 4 5 6 7 8 9 10 11 12 function sum (a, b ) {return a + b;function sub (a, b ) {return a - b;module .exports = {
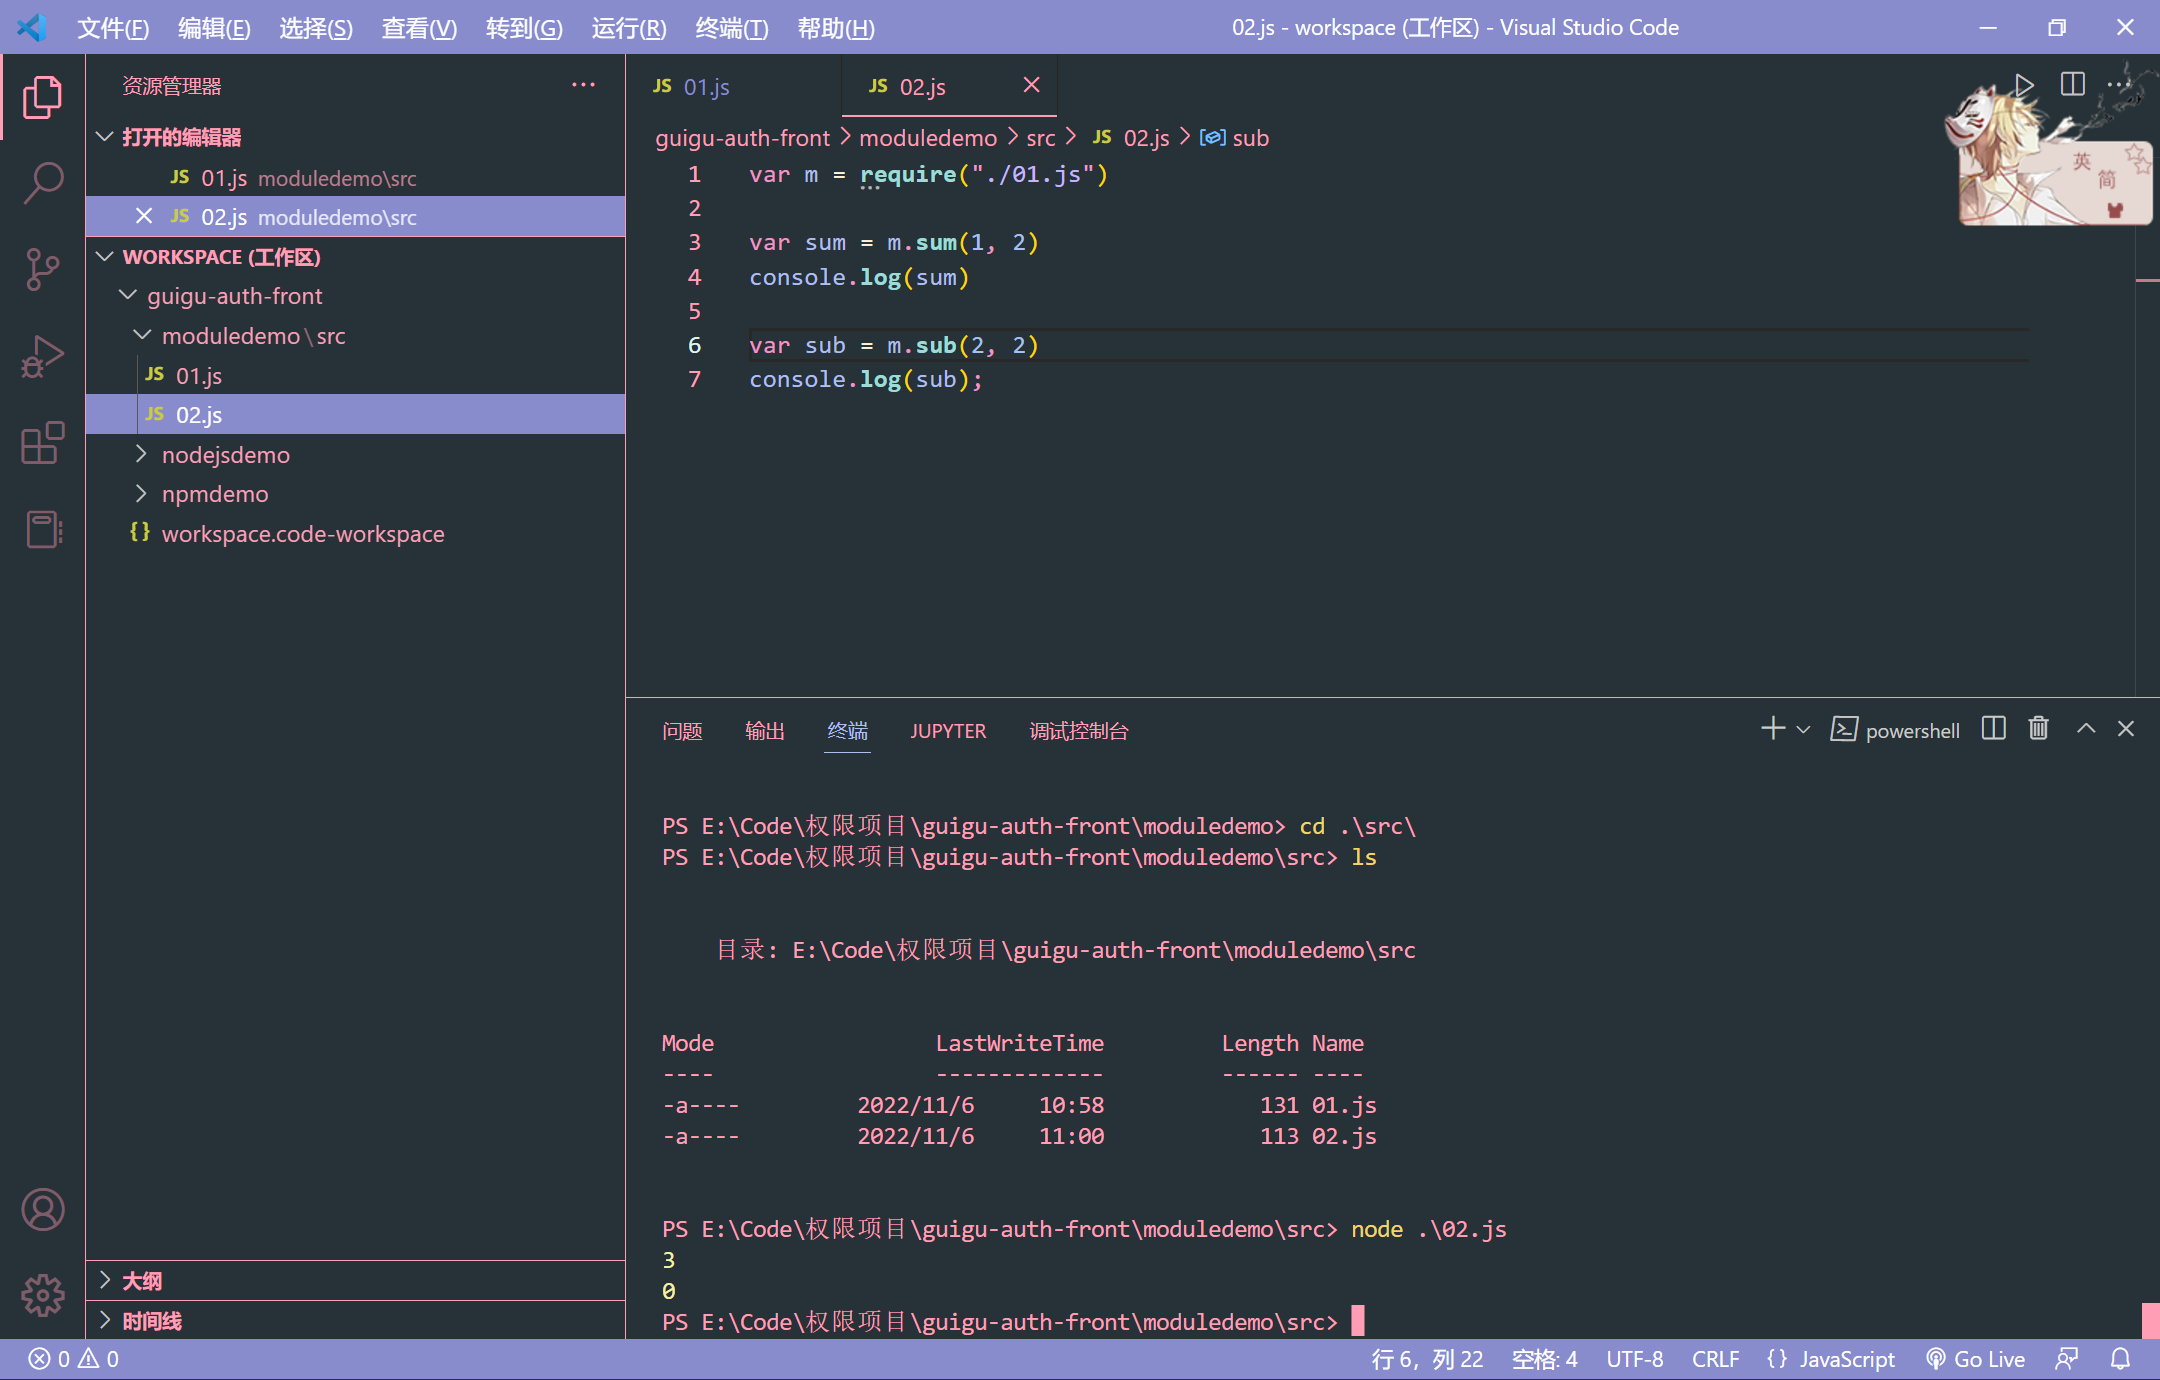
1 2 3 4 5 6 7 var m = require ("./01.js" );var sum = m.sum (1 , 2 );console .log (sum);var sub = m.sub (2 , 2 );console .log (sub);
运行 02.js, 发现成功调用了 01.js 里面的方法
ES6 模块化写法 创建一个文件夹 es6
1 2 3 4 5 6 7 export function getList (console .log ("获取数据列表" );export function save (console .log ("保存数据" );
1 2 3 4 5 import { getList, save } from "./01.js" ;getList ();save ();
直接运行会发现报错
1 2 3 4 5 6 7 8 9 10 11 12 13 14 15 16 17 18 19 PS E:\Code\权限项目\guigu-auth-front \moduledemo\es6> node .\02 .js13464 ) Warning: To load an ES module, set "type" : "module" in the package.json or use the .mjs extension.--trace-warnings ...` to show where the warning was created)-auth-front \moduledemo\es6\02 .js:2 "./01.js" ;Function (node:vm:352:18) 1025 :15 )1059 :27 )1147 :10 )975 :32 )822 :12 )as runMain ] (node:internal/modules/run_main:81 :12 )17 :47 0.1
安装 Babel 1 2 3 npm install --global babel-cli
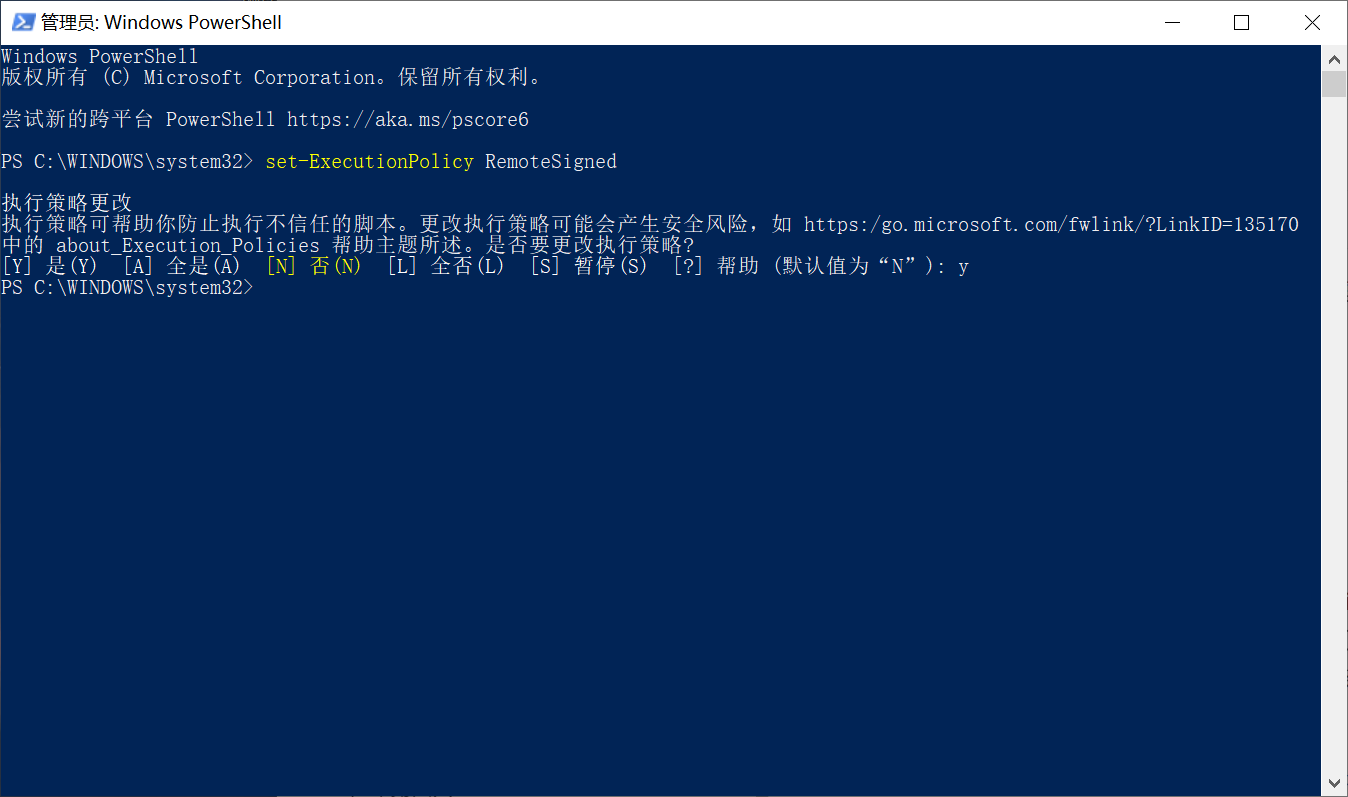
如果出现了如下报错
1 2 3 4 5 6 7 8 PS E:\Code\权限项目\guigu-auth-front\moduledemo\es6> babel --version
请在 windows10 电脑中搜索 PowerShell, 并且需要使用管理员权限打开, 输入如下指令, 然后按 y
1 set-ExecutionPolicy RemoteSigned
配置.babelrc 在项目的根目录下创建.babelrc 文件, 然后保存如下内容
1 2 3 4 {"presets" : ["es2015" ],"plugins" : []
安装转码器 在项目的根目录下输入
1 npm install --save-dev babel-preset-es2015
转码
1 2 3 4 mkdir es5
运行程序
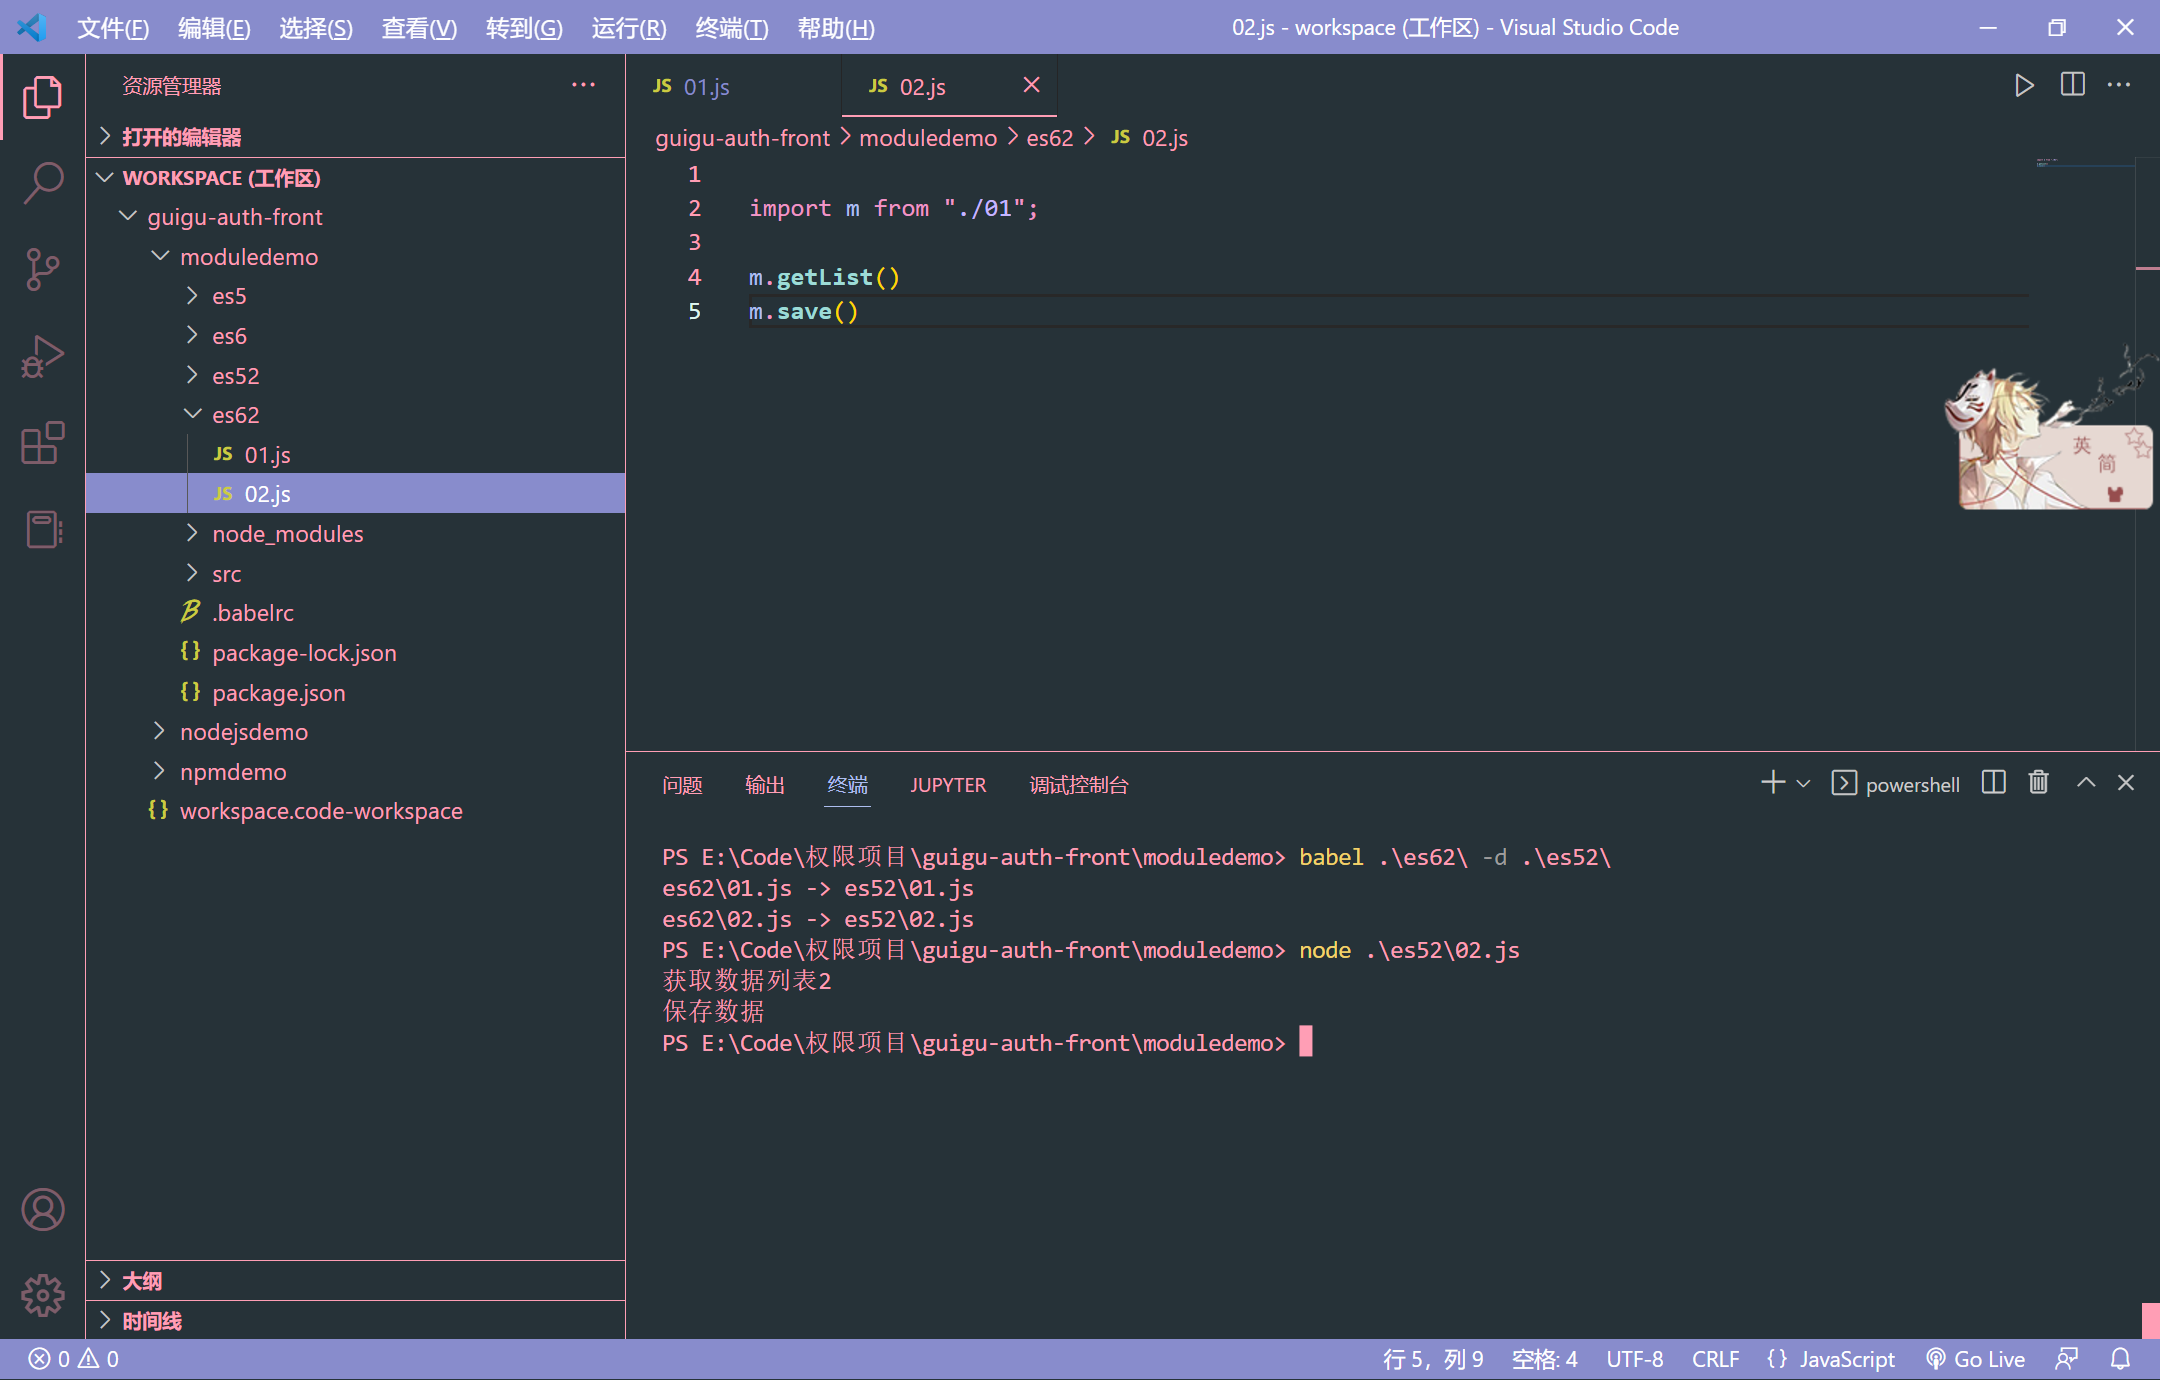
ES6 模块化写法(二) 创建 es62 目录
1 2 3 4 5 6 7 8 export default {getList (console .log ("获取数据列表2" );save (console .log ("保存数据" );
02.js
1 2 3 4 import m from "./01" ; getList ();save ();
1 2 3 4 5 6 PS E:\Code\权限项目\guigu-auth-front\moduledemo> babel .\es62\ -d .\es52\
搭建前端环境 vue-admin-template 后台管理系统模板GitHub 地址: https://github.com/PanJiaChen/vue-admin-template
下载项目
1 2 clone https://github.com/PanJiaChen/vue-admin-template.git
建议: 你可以在 vue-admin-template 的基础上进行二次开发,把 vue-element-admin 当做工具箱,想要什么功能或者组件就去 vue-element-admin 那里复制过来。
1 2 3 4 5 6 7 8 cd vue-admin-template
如果出现了如下报错
1 2 3 4 Error: error:0308010C:digital envelope routines::unsupported
npm run dev 如果报错了, 请把 nodejs 版本降低到 16 版本以前
目录结构 1 2 3 4 5 6 7 8 9 10 11 12 13 14 15 16 17 18 19 20 21 22 23 24 25 26 27 28 29 30 31 32 33 34 35 36 37 38 39 40 41 42 43 44 45 46 47 48 49 50 51 52 53 54 55 56 |-dist 生产环境打包生成的打包项目
改造登录和退出功能 vue.config.js
注释掉 mock 接口配置
配置代理转发请求到目标接口
1 2 3 4 5 6 7 8 9 10 proxy : {'/dev-api' : { target : 'http://localhost:8800' ,changeOrigin : true , pathRewrite : { '^/dev-api' : ''
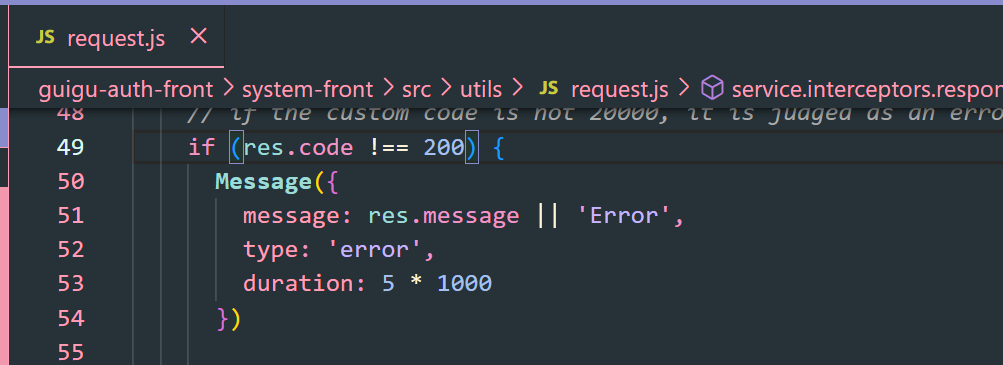
src/utils/request.js 1 2 3 4 5 6 7 8 9 10 if (res.code !== 200 ) {Message ({message : res.message || "Error" ,type : "error" ,duration : 5 * 1000 ,return Promise .reject (new Error (res.message || "Error" ));else {return res;
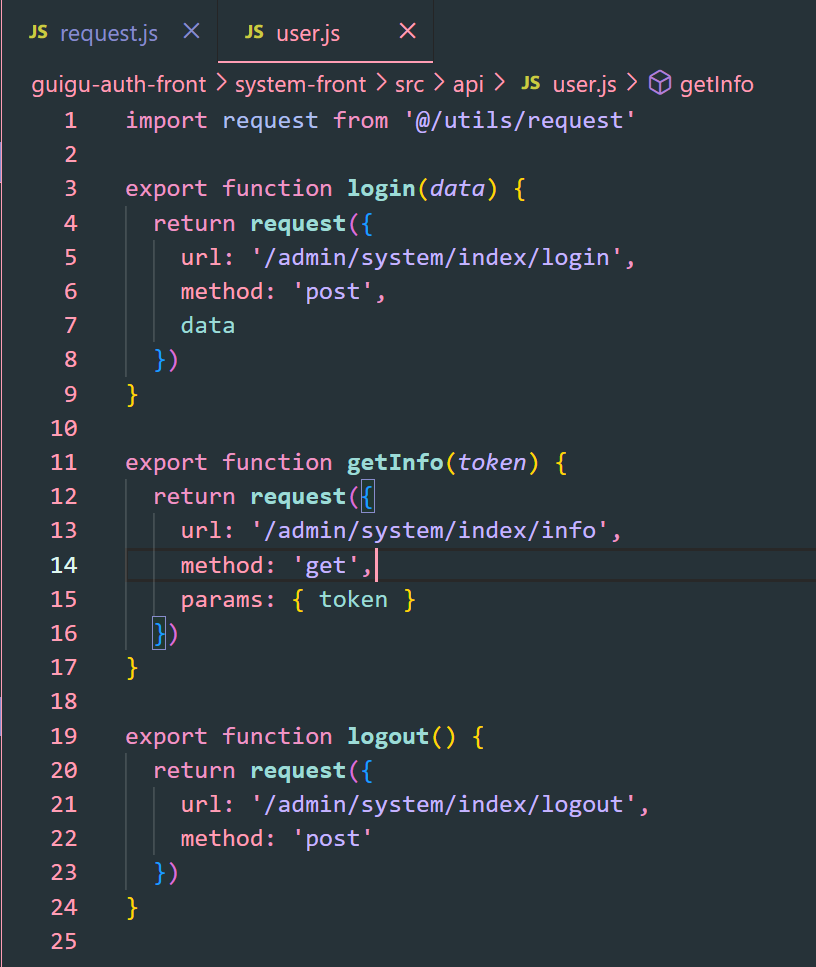
src/api/user.js 修改 url
1 2 3 4 5 6 7 8 9 10 11 12 13 14 15 16 17 18 19 20 21 22 23 24 import request from "@/utils/request" ;export function login (data ) {return request ({url : "/admin/system/index/login" ,method : "post" ,export function getInfo (token ) {return request ({url : "/admin/system/index/info" ,method : "get" ,params : { token },export function logout (return request ({url : "/admin/system/index/logout" ,method : "post" ,
1 2 3 4 5 6 7 8 9 10 11 12 13 14 15 16 17 18 19 20 21 22 23 24 25 26 27 28 29 30 31 32 33 34 35 36 37 38 39 40 41 42 43 44 45 46 47 48 49 50 51 package com.atguigu.system.controller;import com.atguigu.common.result.Result;import io.swagger.annotations.Api;import org.springframework.web.bind.annotation.GetMapping;import org.springframework.web.bind.annotation.PostMapping;import org.springframework.web.bind.annotation.RequestMapping;import org.springframework.web.bind.annotation.RestController;import java.util.HashMap;import java.util.Map;@Api("后台管理登录") @RestController @RequestMapping("/admin/system/index") public class IndexController {@PostMapping("/login") public Result login () {new HashMap <>();"token" , "admin-token xiamu" );return Result.ok(map);@GetMapping("/info") public Result info () {new HashMap <>();"roles" , "[admin]" );"introduction" , "I am a super administrator" );"avatar" , "https://wpimg.wallstcn.com/f778738c-e4f8-4870-b634-56703b4acafe.gif" );"name" , "Super Admin xiamu" );return Result.ok(map);@PostMapping("/logout") public Result logout () {return Result.ok();
修改路由 修改 src/router/index.js 文件,重新定义 constantRoutes
1 2 3 4 5 6 7 8 9 10 11 12 13 14 15 16 17 18 19 20 21 22 23 24 25 26 27 28 29 30 31 32 33 34 35 36 37 38 39 40 41 42 43 44 45 46 47 48 49 50 51 52 export const constantRoutes = [path : "/login" ,component : () => import ("@/views/login/index" ),hidden : true ,path : "/404" ,component : () => import ("@/views/404" ),hidden : true ,path : "/" ,component : Layout ,redirect : "/dashboard" ,children : [path : "dashboard" ,name : "Dashboard" ,component : () => import ("@/views/dashboard/index" ),meta : { title : "Dashboard" , icon : "dashboard" },path : "/system" ,component : Layout ,redirect : "/system/sysUser" ,name : "System" ,meta : { title : "系统管理" , icon : "el-icon-s-help" },children : [path : "sysRole" ,name : "SysRole" ,component : () => import ("@/views/system/sysRole/list" ),meta : { title : "角色管理" , icon : "table" },path : "sysUser" ,name : "SysUser" ,component : () => import ("@/views/system/sysUser/list" ),meta : { title : "用户管理" , icon : "tree" },path : "*" , redirect : "/404" , hidden : true },
views/system/sysRole/list.vue 内容
1 2 3 <template>
views/system/sysUser/list.vue 内容
1 2 3 <template>
定义 api 在 system-front\src\api\system\sysRole.js 定义
1 2 3 4 5 6 7 8 9 10 11 import request from "@/utils/request" ;export default {getList (page, limit, serachObj ) {return request ({url : "/admin/system/sysRole" + "/" + page + "/" + limit,method : "get" ,params : serachObj,
实现角色的管理 JavaScript 的整数类型是正负 2 的 53 次方, 跟 Java 的 Long 类型的范围要小
1 2 3 4 5 6 7 8 9 10 11 12 13 14 15 16 17 18 19 20 21 22 23 24 25 26 27 28 29 30 31 32 33 34 35 36 37 38 39 40 41 42 43 44 45 46 47 48 49 50 51 52 53 54 55 56 57 58 59 60 61 62 63 64 65 66 67 68 69 70 71 72 73 74 75 76 77 78 79 80 81 82 83 84 85 86 87 88 89 90 91 92 93 94 95 96 97 98 99 100 101 102 103 104 105 106 107 108 109 110 111 112 113 114 115 116 117 118 119 120 121 122 123 124 125 126 127 128 129 130 131 132 133 134 135 136 137 138 139 140 141 142 143 144 145 146 147 148 149 150 151 152 153 154 155 156 157 158 159 160 161 162 163 164 165 166 167 168 169 170 171 172 173 174 175 176 177 178 179 180 181 182 183 184 185 186 187 188 189 190 191 192 193 194 195 196 197 198 199 200 201 202 203 204 205 206 207 208 209 210 211 212 213 214 215 216 217 218 219 220 221 222 223 224 225 226 227 228 229 230 231 232 233 234 235 236 237 238 239 240 241 242 243 244 245 246 247 248 249 250 251 252 253 254 255 256 257 258 259 260 261 262 263 264 265 266 267 268 269 270 271 272 273 274 275 276 277 278 279 280 281 282 283 284 285 286 287 288 289 290 291 292 293 294 295 296 297 298 299 <template>
sysRole.js
1 2 3 4 5 6 7 8 9 10 11 12 13 14 15 16 17 18 19 20 21 22 23 24 25 26 27 28 29 30 31 32 33 34 35 36 37 38 39 40 41 42 43 44 45 46 47 48 49 50 51 52 53 import request from "@/utils/request" ;const api_name = "/admin/system/sysRole" ;export default {getPageList (page, limit, serachObj ) {return request ({url : `${api_name} /${page} /${limit} ` ,method : "get" ,params : serachObj,removeId (id ) {return request ({url : `${api_name} /remove/${id} ` ,method : "delete" ,save (role ) {return request ({url : `${api_name} /save` ,method : "post" ,data : role,getById (id ) {return request ({url : `${api_name} /findRoleById/${id} ` ,method : "post" ,updateById (role ) {return request ({url : `${api_name} /update` ,method : "post" ,data : role,batchRemove (idList ) {return request ({url : `${api_name} /batchRemove` ,method : "delete" ,data : idList,
实现用户的管理 树形结构工具类 前后端打包 后端打包 在 pom.xml 加上如下代码
1 2 3 4 5 6 7 8 9 <build > <finalName > $ {project.artifactId} </finalName > <plugins > <plugin > <groupId > org.springframework.boot</groupId > <artifactId > spring-boot-maven-plugin</artifactId > </plugin > </plugins > </build >
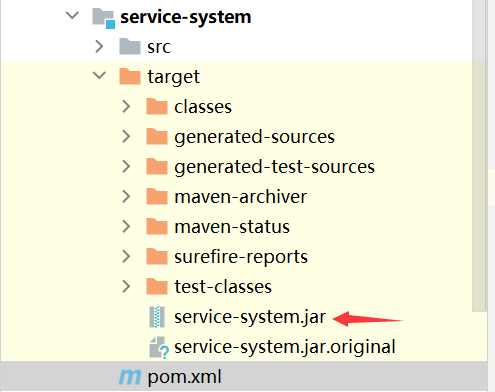
点击 maven 的 package 进行打包, 打包之后的文件存在 target 下前端打包 需要把代理修改成 prod 生产环境
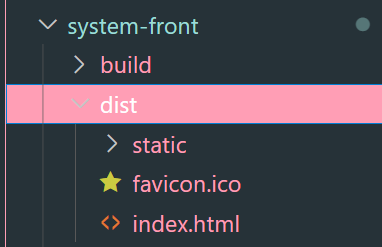
1 PS E:\Code\guigu-auth\guigu-auth-front\system-front> npm run build:prod
打包完之后, 打包之后的文件存在 dist 下


